How to Add a Team Member to Your PayRecs Support Portal
Last updated: July 2, 2026
Give your colleagues access to submit and view support tickets — takes less than 2 minutes!
Who this is for: Anyone at your company who is an Admin in the PayRecs client portal. If you can't find the "Members" tab described below, you may not have Admin access — contact your internal PayRecs admin or reach out to our support team.
Click on the "Members" Tab
Log in to your PayRecs support portal. At the top of the screen, you'll see three tabs: Issues, Tasks, and Members.
Click on Members. This will show you a list of everyone who currently has access to your portal.
The Members tab is in the top navigation bar, next to Issues and Tasks.

Click the Purple "Add Member" Button
In the upper-right corner of the Members page, look for a purple button that says "Add Member". Click it.
You'll see the list of people who already have access. The button is in the top right — you can't miss it!
The purple "Add Member" button is in the top-right corner of the Members page.

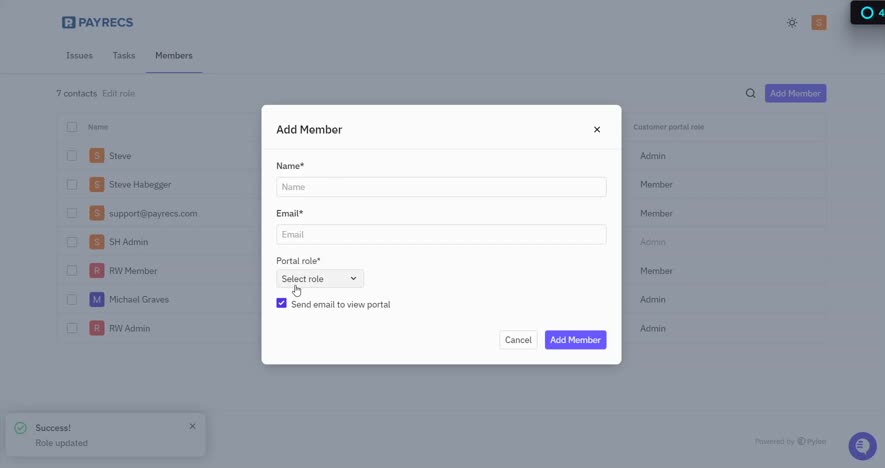
A Pop-Up Window Will Appear — Fill It In
A small window will pop up on your screen with three fields to fill out:
Name — Type the person's first and last name
Email — Type their work email address
Portal role — Choose what level of access they should have (see the role guide below)
There's also a checkbox that says "Send email to view portal" — make sure this is checked so they automatically get an invitation email!
Fill in the person's name, email, and choose their role from the dropdown.
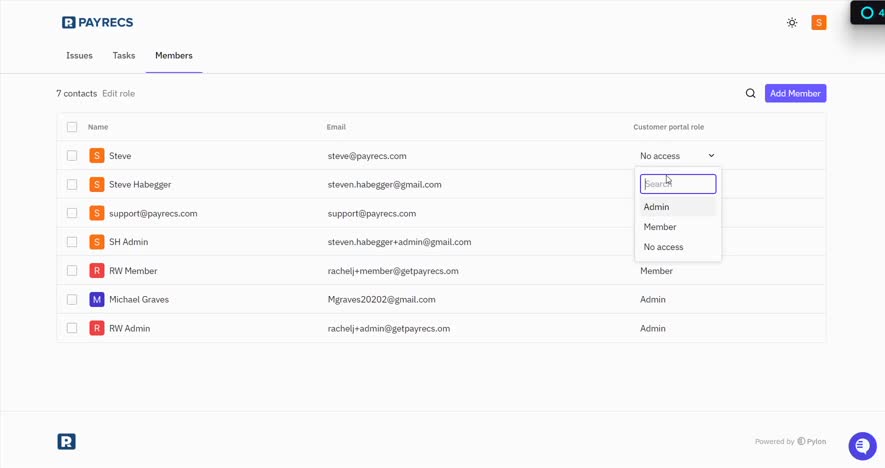
Choose the Right Role from the Dropdown
Click the "Select role" dropdown under "Portal role" and you'll see three options. Pick the one that matches what you want this person to be able to do:
Role | What they can do | Best for |
|---|---|---|
Admin | Full access — can add/remove members and manage all settings | Your IT manager or team lead |
Member | Can submit tickets and view all company tickets | Most employees |
No access | Cannot use the portal (essentially disabled) | Temporarily removing access without deleting |
💡 Not sure which to pick? Go with Member for most people. Only give Admin access to someone you trust to manage the portal settings.
The role dropdown shows three options: Admin, Member, and No access.
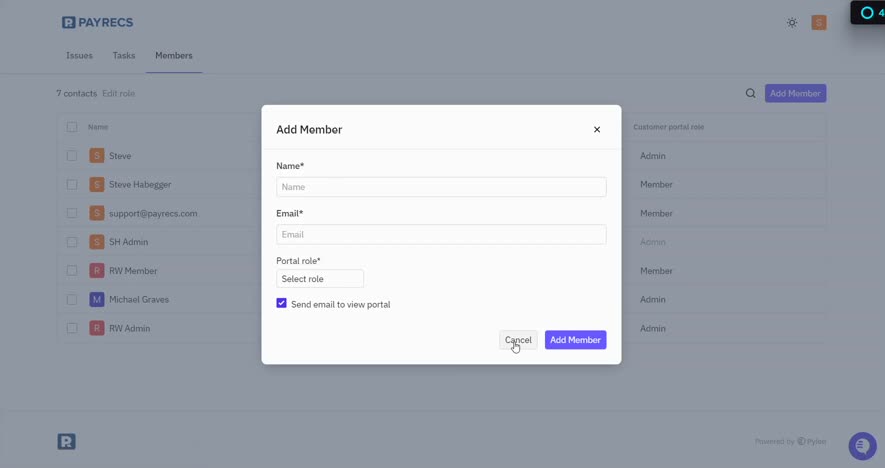
Click "Add Member" to Save
Once you've filled in the name, email, and selected a role, click the purple "Add Member" button at the bottom of the pop-up window.
If you change your mind, click "Cancel" to close the window without making any changes.
Click the purple "Add Member" button to confirm, or "Cancel" to go back.
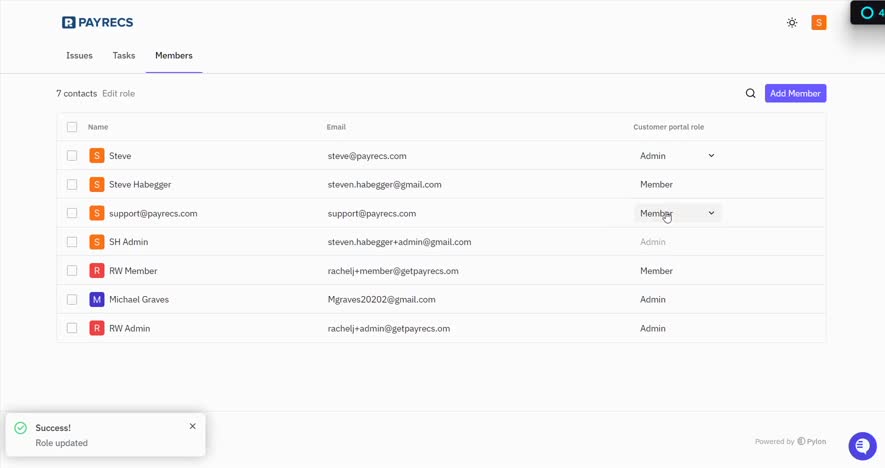
You're Done! Watch for the Green "Success" Message
After clicking "Add Member," the pop-up will close and you'll see a green "Success!" notification appear in the bottom-left corner of your screen.
The new team member will appear in your Members list and will receive an invitation email so they can log in.
That's it! Your teammate now has access to the PayRecs support portal. They'll get an email inviting them to set up their login.
A green "Success!" notification confirms the member was added.
How to Change Someone's Role Later
Already have someone in the portal but need to change their access level? No problem — you don't need to add them again.
Go to the Members tab (same as Step 1 above)
Find the person in the list and click on their current role in the "Customer portal role" column
A dropdown will appear — select the new role
You'll see a green "Success! Role updated" message confirming the change